Friday, 27 March 2015

After Action Report- Mouse Hunting!

I am sure you were all missing not having an AAR for our latest scenario, which you can download here.

Colin and I have been busy writing and playtesting the rules for our upcoming releases, which has meant we haven't managed to stop and play this scenario (yet!), so on a rainy afternoon I decided to play it as a solo game. The scenario lends itself pretty well to a solo game, and I certainly enjoyed it! I have been getting a good bit of work done on my 15mm moderns, so this was a great opportunity to show them off as well.

The miniatures in the game come from Flytrap Factory, and the buildings are some of the excellent MDF buildings from Gamecraft Miniatures- in fact, some of the pictures on the online store will be very similar to those buildings in this game!

Anyway, on to the game. The table looked like this, a mix of one and two story compounds, fields and walls.


The two forces in the scenario are a full squad of 13 United States Marines


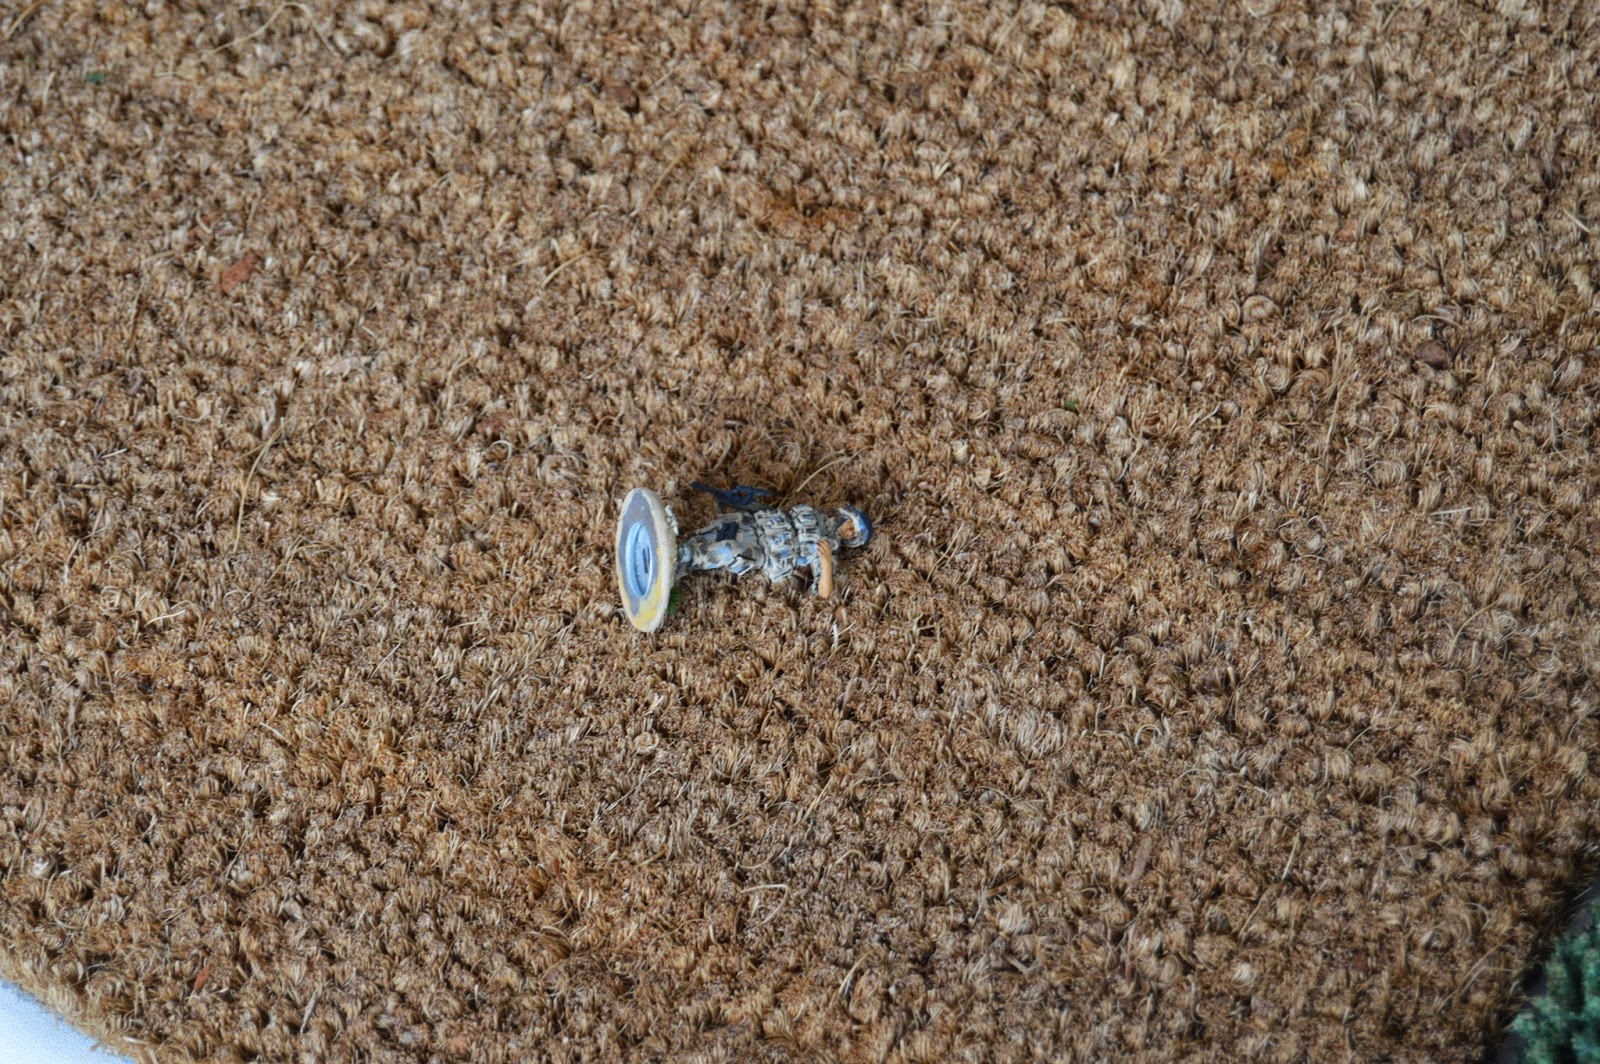
Up against Tamarisk(mouse) the sniper


Tamarisk chooses four sniper locations before the start of the game. I chose a variety of locations to keep as many options as possible for chasing Marines.


The start of the game was quiet, the Marines advanced onto the table. Tamarisk chose sniper hide 2 as his first location, his sights set on one of the advancing marines.


The rifle cracked, and the marine was killed by the heavy calibre bullet and the mouse had his first victim.


The marines immediately pushed forward, scanning rooftops for the source of the shot.


Tamarisk however had set his sights on another Marine, running in much the same corridor as his earlier target. The mouse fired again, his aim was true and he had his second victim!


This time, the marines had their eyes forward, looking out for any signs of the sniper. The Squad Leader had seen the sniper fire, and opened up on the mouse's location.

The Squad Leader, with the mouse's location in the distance.

The fire did not hit the mouse, but it must have shaken off his aim, as his next shot missed it's mark.


The Marine who had the lucky break immediatly returned fire, this time with a 40mm grenade from his M203 UGL. The grenade just missed it's mark, landing at the base of the building.


The near miss from the grenade as well as the other incoming 5.56mm fire caused Tamarisk to seek cover and abandon his sniper hide.


The marines continued their advance while Tamarisk was moving between sniper hides.


Tamarisk emerged from sniper hide 1, behind the advancing marines. He immediately opened fire, killing another marine.


But the marines were in much better positions, one of the M249 gunners had reached the top floor of one of the compounds and immediatly spotted Tamarisk, pouring fire onto the mouse's position.


When two more marines began firing on Tamarisk's position, the mouse was forced to escape from his second sniper hide. The mouse emerged next from sniper hide 3, lining up one of the advancing marines.


The mouse was able to kill another marine, but this hide was not as well concealed as his other locations, and the mouse was quickly spotted by the marines. Their fire was murderous and Tamarisk was killed.


Yes, those are the dice indicating damage caused by the Marine's M16A4...

And so, with that it was over. The mouse could not escape the advancing marines, but he was able to kill four of the marines before he could be killed.

I know that I need more 15mm terrain, so I did put in another order to Gamecraft today, to keep adding to what I can put on table. I thought the game worked well in 15mm, although 28mm might still be my favourite, and certainly where I have most miniatures, but I think that Skirmish Sangin works well in the smaller scale too.

So have you played our new scenario yet? Were your marines more effective than mine?

I will have to put something up about the Flytrap Factory miniatures and the Gamecraft Buildings, both of which I recommend!

Pooch

Sunday, 22 March 2015

Free Scenario No. 2 - Sniper Hunt

So here is the second of our free scenarios. This one features the US marines hunting a Taliban sniper. This is an ideal game for our new Taliban sniper figures armed with the Dragunov.


yes that's a merciless plug but how else are we going to sell them, if we don't write scenario's to sell specific figures and you have to admit its a great figure :-)

Anyway I digress The PDF can be downloaded here

USMC - Sniper Hunt Download PDF


Here are some screen shots so you can see what your getting for Gratis, Nada, Nix, Free.


 This should give you hours and hours of fun as you try and hunt down " The Mouse".


Friday, 20 March 2015

Forum

OK so we have listened to what you have to say and we relaunch our forum today. You will need to set up a login to gain access. The URL below is where you go.

http://skirmishsangin.freeforums.net/


Once your in click on General Board and you will see Skirmish sangin

Now please we are still playing with the tool and don't have it quite down to pat at the moment so bear with us if things aren't quite right from the get go.

So guys why not start by introducing ourselves and if you have any questions post them.

cheers
Colin

Wednesday, 18 February 2015

Forum or no forum


IMAGE -
© Commonwealth of Australia, Department of Defence                                                                                                     

Ok Guys and Gels,

This is us asking you for your opinions. We are frequently asked if there is a forum for Skirmish Sangin and indeed in the beginning we did set one up, but no one but us and a few hard core people posted to it and we felt those posts were better here on the blog. We tried for a number of months to get it active but to no avail.

Its probably the biggest single request we get from new people. So guys let me know if we start one back up a gain would anybody use it? Is it needed?

Or is it just a default question that people new to a period ask.

Speaking of periods in the latest Wargames Illustrated survey Modern Wargaming had risen from 4-6% while thats still quite small over all, it does show and increased interest in the period. Now taking into account that WI is virtually a Battlefront house magazine, so people go to it almost exclusively for Flames of War articles, we think the real rise is probably a lot more.


October 2013 stats

February 2015


cheers
Colin

Monday, 9 February 2015

CUT OFF - Free scenario

Some of you seem to have had a few issues finding the link to the free scenario, so we have decided to make it easier for you.

You can download it here


It looks like this and BTW its really good, even if we do say so ourselves. :-)


Don't forget to read the AAR below.

Sunday, 8 February 2015

Cut Off - Free Scenario and AAR

CUT OFF

As part of completing Despatches II, we had a raft of articles that just didn't quite make the final book, due to us reaching the maximum page numbers way earlier than we expected. When you write any book as a team there are always favourite articles that get left behind. Articles that while great just don’t make the cut because we reach the maximum page count way before we wanted too. This of course has led us to believe we will create Despatches III.

However as this is scheduled for the fourth quarter of 2015 we couldn’t wait that long to show you, our loyal readers, some of the cool things we wrote so we have decided to release a new scenario every month. These scenarios will be PDF only of course but we hope it will give you something to look forward to, while waiting (patiently!) for the next Despatches.

 The first of these scenarios is Cut Off. The original ideas was Chris’s but as with everything Sangin, it did a round robin to fill it out and shape it into the great scenario it is now. Nothing in Sangin is a one-man operation but this scenario was definitely one of Chris’s favourites and it fair to say he politicked hard for it to be the first scenario.

 Each scenario when released will have an AAR played to go with its release, as we know everybody enjoys them and to show you how our games go.

(NOTE) In this and all of our scenarios to date, we do not write "balanced" scenarios in the traditional wargamer sense. Our scenarios tend not to be a X hundred points vs X hundred points battles, because in reality forces are never balanced. Instead they are designed to be a challenge for both players. This month's scenario is no exception, it is a tough game for both players, there are no easy wins here!

Forces
Colin took the Insurgent forces (All Sangin figures) and fielded some beautifully painted figures by our good friend Ray who has been one of our chief play testers in SD 1 and 2.

I really wish I could paint that well!

Chris took the role of ISAF using our Australian figures that he had painted himself, again a terrific paint job, so much eye candy in this game. We will have a closer look at those figures next week.


As you can see from the board we set up pretty much as described in the scenario but using the terrain we had. The Taliban started on table and hidden, so they had all the advantages to start with, but they had neither numbers or skills in this game so would need every advantage to swing this one.


Hiding in the corner fields and on top of buildings the Taliban made best use of their home ground knowledge to select the best cover.


This was a Taliban ambush so they decided to make the most of it. They were bunkered down and waiting, knowing through the village grapevine that the enemy was approaching.


So the first Australian entered the board, scouting the route out, walking carefully looking for the Terries. He didn't spot any, but they did spot him and one lone gunman opened fire, springing the trap too early.

(Below)  The Australian responded with a 40mm grenade which while missing his target on the roof, caught a Taliban hiding in the cornfield that he didn't even know existed. Injuring him slightly and really shaking him up.


(Below) The shooter who sprung the Ambush early I am sure if he survives there will be strong words from his playmates.


(Above)  The next Aussie seeing how effective grenades were, even when they miss, decides to throw his own. While on the right flank other members of the team begin to make there way through the fields.


(Below) The Australians used a three prong attack, probing the ambush to try and find its weak point.


(Below) With the sound of gun fire, the patrol firing and manoeuvring, although so far on the right flank they had not spotted the insurgents.


(Below) The Bushmaster ( A great model from our friends at Company B) drives on the board and realises all is not well with what they thought was a standard pick up operation.


(Below) The HMG sings out and manages to kill a Taliban but unbeknownst to the vehicle team they are being hunted by an insurgent with an RPG. Meanwhile the left prong of the Australians  are still lobbing grenades at the insurgents trying to force them out of the building.


Which a whoosh of rocket engine the RPG ploughs into the Bushmaster. The Insurgents  abilities wasn't high but the target was just too big and the penetration too good that when we rolled on the penetration chart the vehicle was totally destroyed. Scratch one Bushmaster!


Colin insisted on several picture of this as it was major victory for the Taliban. The Australians are never ones to back down from a fight nor take things lying down, so returned with withering fire from a wide selection of weapons. Unfortunately at this points the Insurgents brought their PKM to bear, swiftly followed by their sniper, and casualties began to mount on both sides.


(Below)  Chris' Australians seem to have an affinity with grenades.


(Below) Casualties mount in the cornfield. For this game we ignored the MEDEVAC rules in the wound chart.


(Below) The Australians realising they needed to take control of the roof tops as they where being cut down in the corn fields began roof to roof clearances with their usual effectiveness.


(Below) This grenade forces the sniper to bolt. But the PKM keep up its monstrous fire.


At this point after one action packed combat turn we called the game. Casualties were 5 Taliban to 4 Australians but to be far to Australians they were just beginning to bring there heavy weapons to bear although time was definitely not on their side. They had succeeded in driving off the sniper but the PKM was still wreaking havoc in the cornfield. At this point it was a victory to the insurgents.

You can download the scenario from this link and feel free to send us your AARS, we would love to see how you tackled this game can you do better than us? Having played this through once there lots of thing we could both have done better but having had a 6 week break we were both a bit rusty on the old thinking. I am sure we will be far more tactically astute for next months scenario!

Cheers and enjoy,

Colin and Chris.