Showing posts with label Flytrap miniatures. Show all posts

Wednesday, 23 September 2015

Sweep and Clear- AAR

Right, finally we are back in the groove, and can play some AARs!

Craig H and Colin came over to my place, to play the Sweep and Clear scenario, using the excellent 15mm Flytrap Miniatures, and on terrain from Gamecraft Miniatures .

This was the first time playing 15mm for Colin and Craig, and it went pretty well. Colin took charge of the Grey Pashmina and his forces, while Craig and I took a squad of Panzergrenadiers each, as well as their Fuchs armoured vehicles.


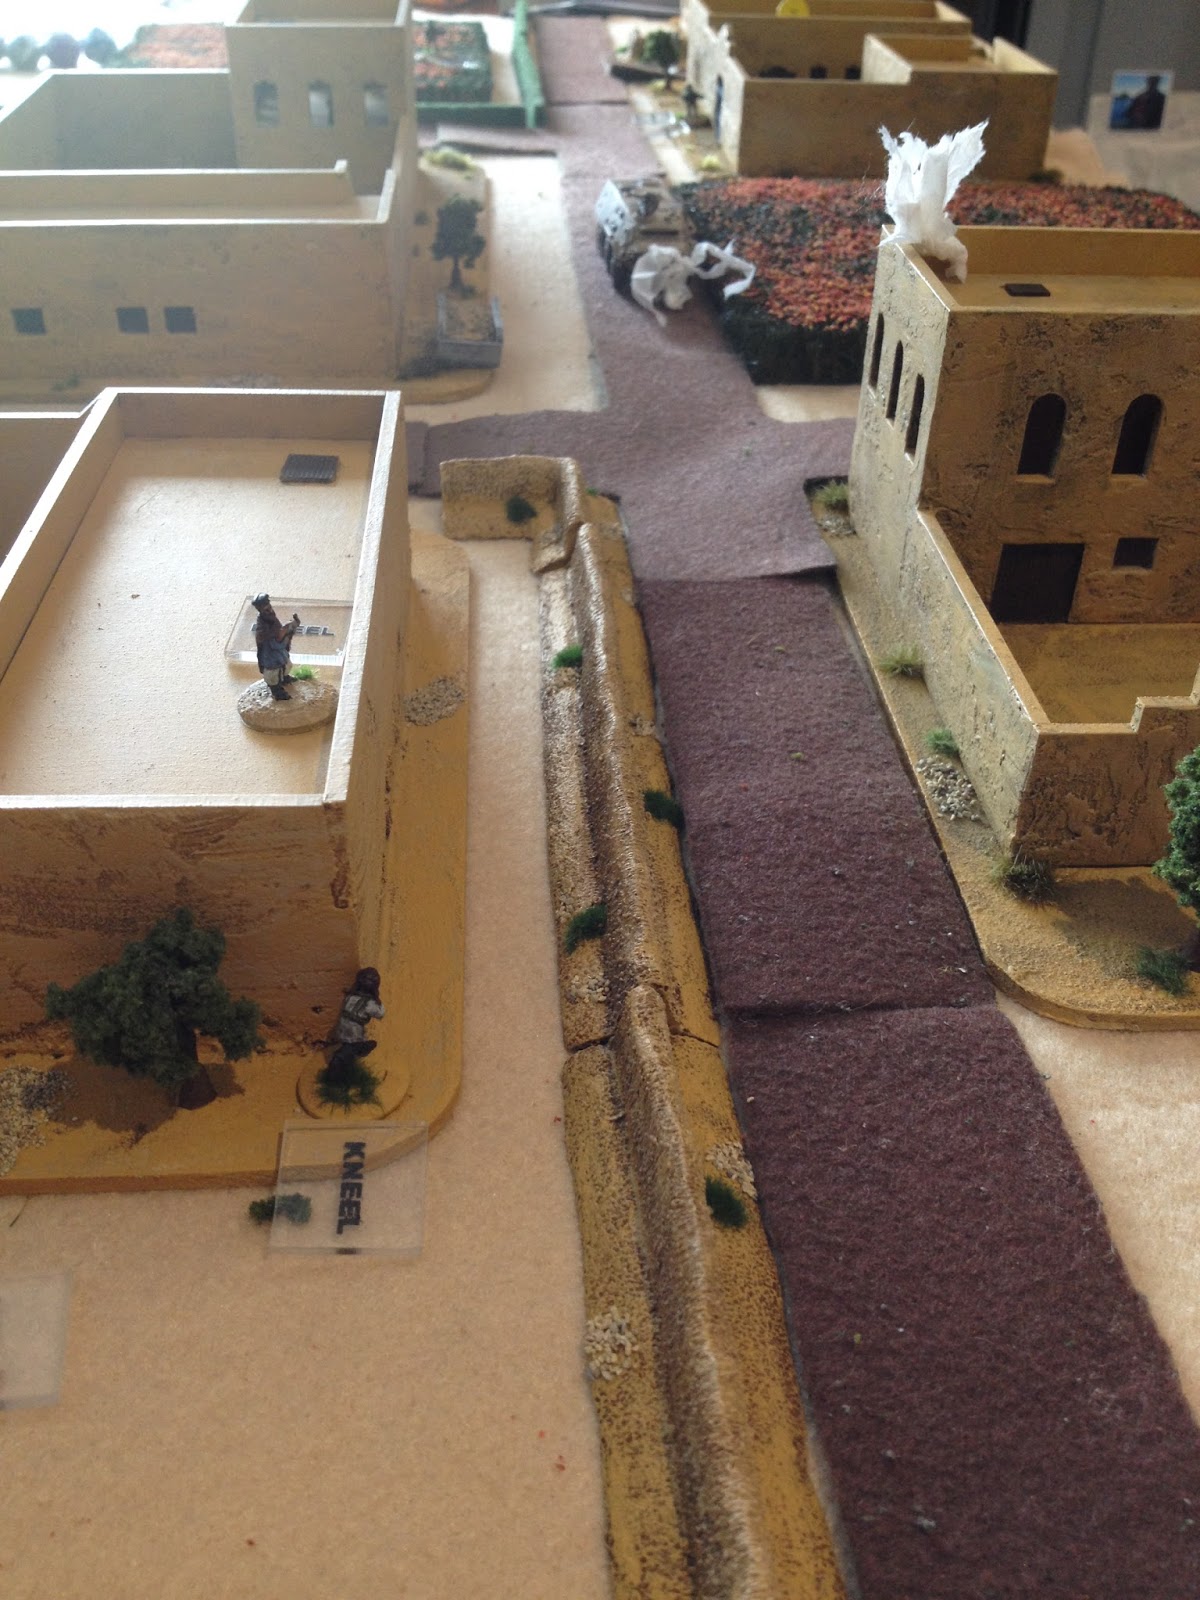
Looking down the German lines of advance, the table looked like this:

The Taliban were in defensive positions, waiting for the German arrival.


My Germans took the left hand flank, while Craig's squad advanced up the right hand flank.

My Fuchs rolled on, and quickly the infantry dismounted into cover:

Once my Germans dismounted, they immediately came under small arms fire from the rooftops

Luckily, the grenadier returned fire with his AG36, dropping a 40mm directly on the firing point!

Scratch one Taliban, first blood to the Germans!

Meanwhile, Craig was taking his Fuchs on a merry ride through the village

He dismounted his grenadiers, and began to search the mosque for the Grey Pashmina.

This was about the point where our advance all went wrong.

The Taliban began to swarm out of their hidey holes

And as Craig's Fuchs rounded the corner, it immediately got an RPG round straight through the front, completely destroying the vehicle!

The destruction of the Fuchs immediately pinned Craig's advance (it didn't help him that his morale rolls completely deserted him)

Seizing the advantage, the Taliban surged forward, trying to push the Germans back and catch them in a crossfire along both flanks

My squad was bogged down too, pinned in place by PKM fire. The Fuchs drove up to act as a blocker between the PKM and the Germans. Unfortunately, the plan went awry when the PKM put holes in the front of my Fuchs, destroying it!

The Taliban then started to swarm out of other bolt holes, effectively pinning both German squads in place. My forces took to the poppy fields for cover, engaging the Taliban.

Craig's MG gunner sought the high ground, trying to hunt the Taliban on the rooftops. Craig's dice had deserted him by this point, requiring THREE turns to hit the Taliban on a 90%. At that point, you know you are not having a good day with dice...

My attempt at getting to the high ground resulted in my Obergefreiter killing one Taliban, and getting shot and killed in return.

And at the end of the second combat turn, it was a clear Taliban victory, and time to call it a day.

The net result? The Germans lost two Fuchs and three soldiers killed. The Taliban lost 10 of their fighters, but crucially the Grey Pashmina escaped. Colin played the game well, as we have come to expect from him!

Sources indicate this is the Grey Pashmina, but the Germans never got close enough to confirm!

And as for the Germans, we really paid the price for not bringing in the Show of Force. Remember kids, if you have an asset to use in the game, never save it for a rainy day. We needed to use the show of force early, so that the Taliban heads were down, and were unable to snap fire on our advance. That way we would have gotten further up the table, before getting caught in the fire from the Taliban. It might have even kept our two Fuchs alive!

So all up, an interesting and challenging game. Now I know we are months behind with playing our free scenarios, so we are already planning the next game.

Oh and I had better get writing the next free scenario!

Chris

Tuesday, 28 April 2015

April's Free Scenario - Hearts and Minds


Hearts and Minds

This months free scenario has all the elements that represent the detail of the war in Afghanistan. ISAF (USMC) helping the afghan people, IEDs, Taliban and ambush. Its a difficult scenario and one that will push you as a player of either side hard.


You can download it here


So have a go and let us know how you get on and also what elements you want to see in future releases. The next release will be based around the Bundswehr so stay tuned for late May.

Sunday, 26 April 2015

Skirmish Sangin and Flytrap miniatures


We are very excited and pleased to announce today that Flytrap Factory has entered an agreement with Skirmish Sangin  to provide sets of figures for our free scenarios moving forward and will retroactively create packs for the ones we have already released. Our first joint release will be out later this week.

Here at Skirmish Sangin we realise there is more than just 28mm players out there and we thing the Flytrap factory offer some of the best 15mm figures and vehicles on the market. Skirmish sangin plays in all scales equally well.

Flytrap Factory has pledged to support the system moving forward with their new range of 1:100 scale moderns "Warfighter" miniature line with a host of new soon-to-be-released modern/ultra-modern miniature ranges. So if that's a scale your interested in watch this space. 

With Flytrap miniatures actively committed to releasing figures of extremely high quality we are very excited for what the future holds as our two "Made in New Zealand" companies continue ahead.


Friday, 27 March 2015

After Action Report- Mouse Hunting!

I am sure you were all missing not having an AAR for our latest scenario, which you can download here.

Colin and I have been busy writing and playtesting the rules for our upcoming releases, which has meant we haven't managed to stop and play this scenario (yet!), so on a rainy afternoon I decided to play it as a solo game. The scenario lends itself pretty well to a solo game, and I certainly enjoyed it! I have been getting a good bit of work done on my 15mm moderns, so this was a great opportunity to show them off as well.

The miniatures in the game come from Flytrap Factory, and the buildings are some of the excellent MDF buildings from Gamecraft Miniatures- in fact, some of the pictures on the online store will be very similar to those buildings in this game!

Anyway, on to the game. The table looked like this, a mix of one and two story compounds, fields and walls.


The two forces in the scenario are a full squad of 13 United States Marines


Up against Tamarisk(mouse) the sniper


Tamarisk chooses four sniper locations before the start of the game. I chose a variety of locations to keep as many options as possible for chasing Marines.


The start of the game was quiet, the Marines advanced onto the table. Tamarisk chose sniper hide 2 as his first location, his sights set on one of the advancing marines.


The rifle cracked, and the marine was killed by the heavy calibre bullet and the mouse had his first victim.


The marines immediately pushed forward, scanning rooftops for the source of the shot.


Tamarisk however had set his sights on another Marine, running in much the same corridor as his earlier target. The mouse fired again, his aim was true and he had his second victim!


This time, the marines had their eyes forward, looking out for any signs of the sniper. The Squad Leader had seen the sniper fire, and opened up on the mouse's location.

The Squad Leader, with the mouse's location in the distance.

The fire did not hit the mouse, but it must have shaken off his aim, as his next shot missed it's mark.


The Marine who had the lucky break immediatly returned fire, this time with a 40mm grenade from his M203 UGL. The grenade just missed it's mark, landing at the base of the building.


The near miss from the grenade as well as the other incoming 5.56mm fire caused Tamarisk to seek cover and abandon his sniper hide.


The marines continued their advance while Tamarisk was moving between sniper hides.


Tamarisk emerged from sniper hide 1, behind the advancing marines. He immediately opened fire, killing another marine.


But the marines were in much better positions, one of the M249 gunners had reached the top floor of one of the compounds and immediatly spotted Tamarisk, pouring fire onto the mouse's position.


When two more marines began firing on Tamarisk's position, the mouse was forced to escape from his second sniper hide. The mouse emerged next from sniper hide 3, lining up one of the advancing marines.


The mouse was able to kill another marine, but this hide was not as well concealed as his other locations, and the mouse was quickly spotted by the marines. Their fire was murderous and Tamarisk was killed.


Yes, those are the dice indicating damage caused by the Marine's M16A4...

And so, with that it was over. The mouse could not escape the advancing marines, but he was able to kill four of the marines before he could be killed.

I know that I need more 15mm terrain, so I did put in another order to Gamecraft today, to keep adding to what I can put on table. I thought the game worked well in 15mm, although 28mm might still be my favourite, and certainly where I have most miniatures, but I think that Skirmish Sangin works well in the smaller scale too.

So have you played our new scenario yet? Were your marines more effective than mine?

I will have to put something up about the Flytrap Factory miniatures and the Gamecraft Buildings, both of which I recommend!

Pooch