Showing posts with label After Action Report. Show all posts

Saturday, 6 February 2016

Platoon+ test games

Platoon+

So we continue with our Platoon+ testing. This time we added off table resources. The Taliban had a mortar and a sniper and the ISAF had a heavy weapons team which included 2 Javelins and a sniper.

The ISAF platoons consisted on 1 Platoon of US Army and 1 Platoon of French. This was mainly to help us test the differences in national Platoon types and the Taliban had 25 minis.

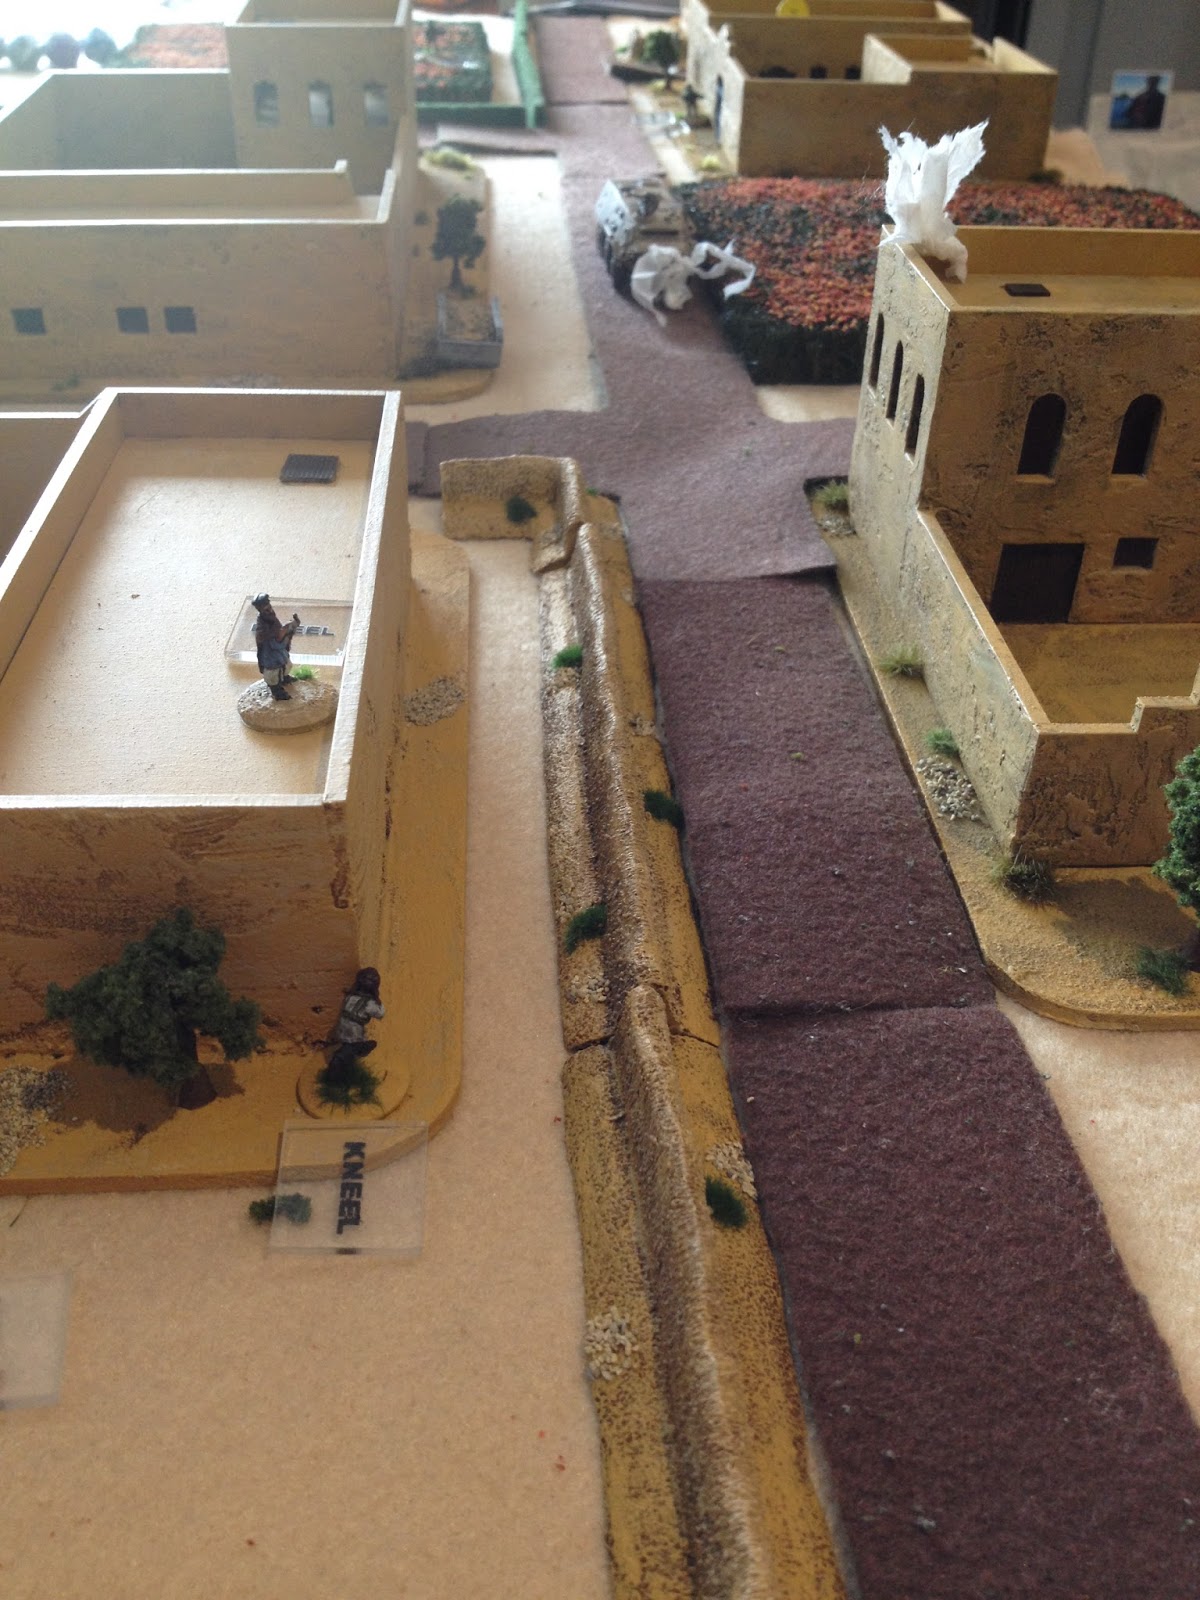
The board looked like this.


The Taliban held everything south of the river with ISAF coming from the north of the river. The Taliban were embedded in the village of Ghorak having in the scenario taken possession of the town the day before.

The battle unfolded with the ISAF advance. Its was a two prong approach designed to split the Taliban fire, this worked very well. The Taliban, dug in the building were initially a tough nut to crack with the French being pinned down on the left flank (bottom right of the pic below).


The Taliban used the banks of the stream as cover as they tried to bring fire on to the face arriving Americans.


The French hunkered down over the continual fire from the Taliban. The advanced initially brought to a stop. Here the first casualties went to the Taliban withering fire.


 The Taliban occupy the mosque and gain the high ground advantage (Sorry about the pic quality).


US army below make it to the first compound to find it empty.


The Americans charged the dug in Taliban along the river line and a fearful hand-to-hand battle begins. This would go on for most of the game with the Taliban taking casualties but refusing to yield. Ray (pictured) wanted to test the hand-to-hand rules and his Taliban held up well.


The French move up through the poppy field and come under off table mortar fire, twice they were hit and twice the dice (6d20) yield no casualties, but it did shake them up. The US employed both javelins but were such bad shots they missed their targets and inflicted only minor damage.


 Eventually the Taliban Morale breaks and the survivors bolt.


So just like before we have learned a few things and we have added more elements to the game I can honestly say I like where this is going. Both of my play testers liked it too. Once more of the rules are written up in a more cognitive form I will be looking for more play testers, so let us know if your interested.

The game took 2 hours and 15 minutes with high Taliban casualties but ISAF were pinned for a number of rounds, which stopped there advance dead for a while.

The larger playing area really worked too.


Wednesday, 23 September 2015

Sweep and Clear- AAR

Right, finally we are back in the groove, and can play some AARs!

Craig H and Colin came over to my place, to play the Sweep and Clear scenario, using the excellent 15mm Flytrap Miniatures, and on terrain from Gamecraft Miniatures .

This was the first time playing 15mm for Colin and Craig, and it went pretty well. Colin took charge of the Grey Pashmina and his forces, while Craig and I took a squad of Panzergrenadiers each, as well as their Fuchs armoured vehicles.


Looking down the German lines of advance, the table looked like this:

The Taliban were in defensive positions, waiting for the German arrival.


My Germans took the left hand flank, while Craig's squad advanced up the right hand flank.

My Fuchs rolled on, and quickly the infantry dismounted into cover:

Once my Germans dismounted, they immediately came under small arms fire from the rooftops

Luckily, the grenadier returned fire with his AG36, dropping a 40mm directly on the firing point!

Scratch one Taliban, first blood to the Germans!

Meanwhile, Craig was taking his Fuchs on a merry ride through the village

He dismounted his grenadiers, and began to search the mosque for the Grey Pashmina.

This was about the point where our advance all went wrong.

The Taliban began to swarm out of their hidey holes

And as Craig's Fuchs rounded the corner, it immediately got an RPG round straight through the front, completely destroying the vehicle!

The destruction of the Fuchs immediately pinned Craig's advance (it didn't help him that his morale rolls completely deserted him)

Seizing the advantage, the Taliban surged forward, trying to push the Germans back and catch them in a crossfire along both flanks

My squad was bogged down too, pinned in place by PKM fire. The Fuchs drove up to act as a blocker between the PKM and the Germans. Unfortunately, the plan went awry when the PKM put holes in the front of my Fuchs, destroying it!

The Taliban then started to swarm out of other bolt holes, effectively pinning both German squads in place. My forces took to the poppy fields for cover, engaging the Taliban.

Craig's MG gunner sought the high ground, trying to hunt the Taliban on the rooftops. Craig's dice had deserted him by this point, requiring THREE turns to hit the Taliban on a 90%. At that point, you know you are not having a good day with dice...

My attempt at getting to the high ground resulted in my Obergefreiter killing one Taliban, and getting shot and killed in return.

And at the end of the second combat turn, it was a clear Taliban victory, and time to call it a day.

The net result? The Germans lost two Fuchs and three soldiers killed. The Taliban lost 10 of their fighters, but crucially the Grey Pashmina escaped. Colin played the game well, as we have come to expect from him!

Sources indicate this is the Grey Pashmina, but the Germans never got close enough to confirm!

And as for the Germans, we really paid the price for not bringing in the Show of Force. Remember kids, if you have an asset to use in the game, never save it for a rainy day. We needed to use the show of force early, so that the Taliban heads were down, and were unable to snap fire on our advance. That way we would have gotten further up the table, before getting caught in the fire from the Taliban. It might have even kept our two Fuchs alive!

So all up, an interesting and challenging game. Now I know we are months behind with playing our free scenarios, so we are already planning the next game.

Oh and I had better get writing the next free scenario!

Chris

Wednesday, 29 April 2015

Hearts and Minds - AAR

Hearts and Minds Overview:

As part of the ISAF programme to deny villages and towns to the Taliban, American forces run regular medical clinics for people in the outer reaches of Afghanistan countryside as part of the ongoing “hearts and minds” policy.

A few days before each clinic takes place, the word is spread in the local area and people sometimes walk for many miles to get the free medical care for themselves, their families. This is inherently dangerous as the Taliban have prior information as to where the clinic will be and want to prevent the Americans from gaining a foothold in the community. Therefore the American forces need to ensure that security is tight, both for their own safety and that of the civilians in the villages.

 The clinic planned for the village of Sabzak-Musal is no different. Large numbers of civilians are crowding the area, awaiting medical attention which will make security more difficult and unknown to the American forces, the Taliban have arrived before them, laying an IED on the road into the village and posting fighters in ambush, awaiting the American forces arrival.

The terrain:


The game begins...


Below:
The market is in full swing with the local expecting the medical convoy to arrive soon. These civilian figures are from Eureka miniatures and are really nice.


Below:
The ISAF convoy enters the table. (Vehicles by Empress and Tamiya, figures from Eureka)


Below:
The first HUMVEE triggers the IED . It starts with a low roll to trigger the IED(35% chance) and then a high roll (9) on the damage table, adding up to scratch one HUMVEE and all its crew. The ISAF forces are now down half its tactical strength in the opening rounds of the game


Below:
A brave navy corpsman runs forward to see if there are any survivors


Below:
The second HUMVEE drives of the round as its crew work to secure the area.


Villagers run screaming in all directions


 The ISAF troops (USMC) now begin to take fire from the hidden Taliban.


 Theres a whoosh as an RPG hits at the rear of the HUMVEE wagon killing another soldier and knocking others to the floor.


Below:
Finally the Navy Corpsman see's his target and a few rounds later the first casualties to the Taliban.


Below:
Additional fire is taken by ISAF, morale markers litter the battlefield.


Below:
The .50 cal opens up on the RPG gunner, scratch one RPG gunner.


 The M998 HUMVEE reverses back at top speed.


Below:
ISAF begin to deploy to take the offensive to the Taliban in a hope of allowing the Corpsman to check for wounded.

Below:
Scratch another Taliban


Below:
Help arrives at the HUMVEE at last. unfortunately there where no survivors.


Below:
ISAF come under sniper fire.

Below:
The Taliban Dicker is calling in an off table sniper

Below:
Casualties begin to mount

The M998 races forward to pick up the wounded.


Below:
The .50 cal comes up to cover the retreat. Killing more Taliban.


Below:
What's left of the convoy retreats off the board


So ISAF retreat with their casualties to await support, to allow them to recover the HUMVEE. 

A great second scenario would be the recovery of the HUMVEE.

While this scenario is a hard game for ISAF it does show the strength of a good ambush and more importantly as Chris adopted SOP (standard operating procedure) once the ambush was triggered he managed to check for survivors and give the Taliban a bloody nose while MEDEVAC-ing his wounded off the table.  

This was a great game and a good fight. In this version most things went Terry Taliban way, but there are no guarantees with this scenario.

Also this AAR only shows one side of the game. If the HUMVEE get in the village there is all sorts of excitement, but we'll let you find that out for yourselves...

Fancy doing this game in 15mm

All the figures for this scenario are being released by Flytrap Miniatures, everything you need to play the scenario in one pack are available soon, we'll let you know once there ready. Click on the images below to look at a bigger image.